OVERVIEW
Pesky rodents can cause major issues in any solar system. In this informative article, Trevor Schwartz, SEI alumni and Field Service Technician at StraightUp Solar, shares his expertise on solar panel protection from critters
“I was documenting much of my work on the roof as a Service Tech and soon realized that squirrels are one of our main issues in the Service Department. This led me to gather all my photos to create a presentation to my department on squirrel damage and Critter Guard, with the intention of developing our proven processes as a company. I would like to share my presentation with you, along with my company’s video. I see this as an opportunity to spread more knowledge about the dangers of squirrels for PV systems and the need for critter guard.”
Signs of Squirrels
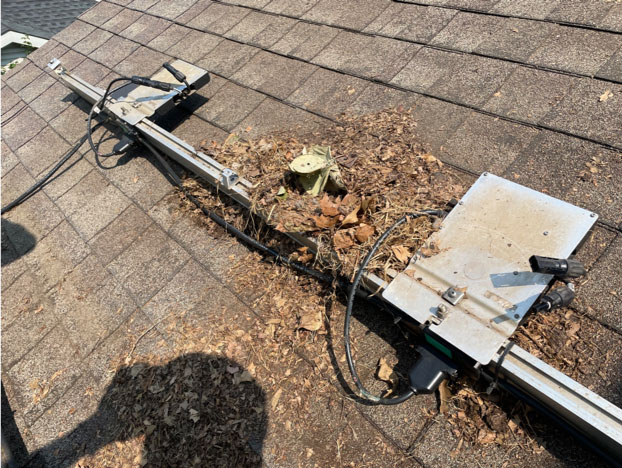
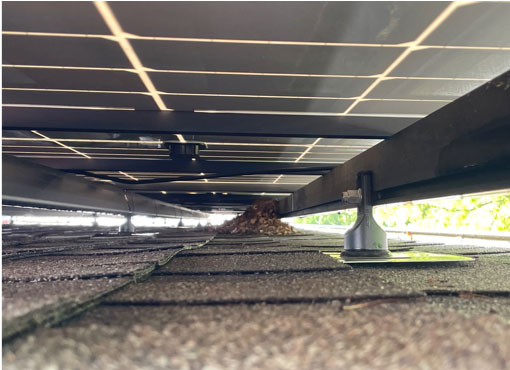
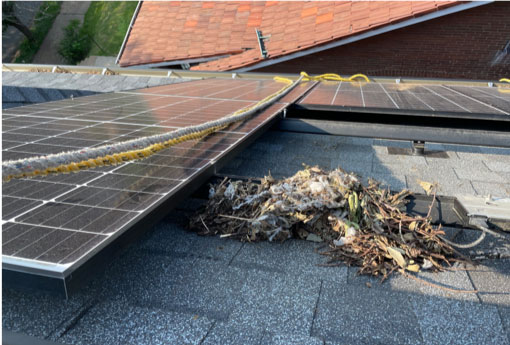
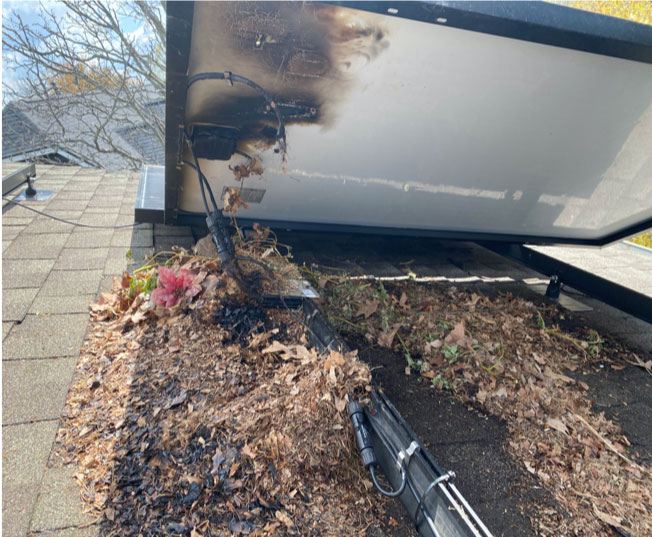
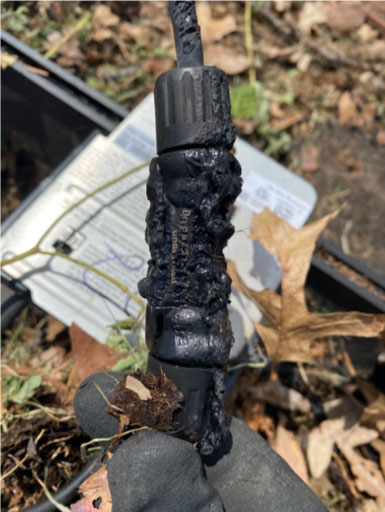
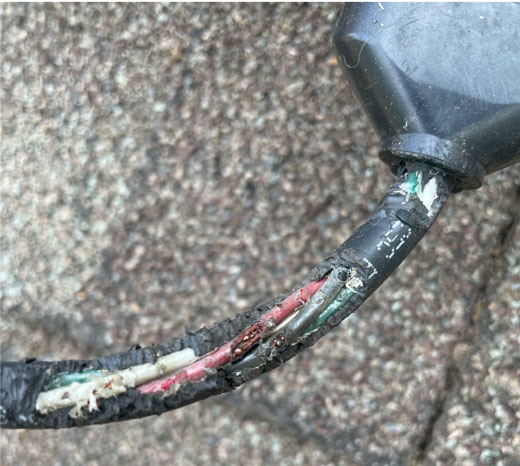
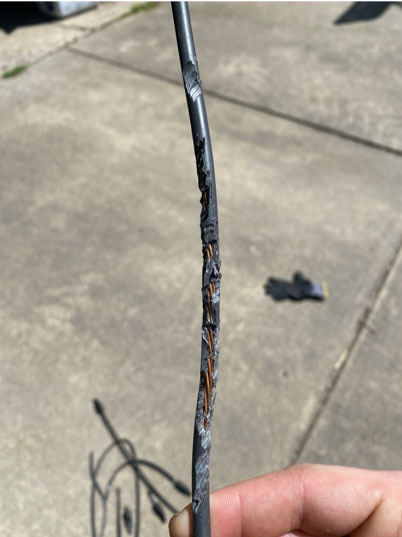
If you see a “clump” of debris under a solar array, it is certainly worth investigating. It may soon be safe to assume that squirrels have made a home there and could have already caused some level of damage. Take a look at the pictures – in this case, their damage led to a burnt MC4 connector, scorched back-sheet of a module, and exposure of both hot wires, likely causing a fault in the system. Luckily, this didn’t catch the roof on fire, which is a scary possibility. Additionally, squirrels will chew through the insulation of solar cables or even the conductors.
One solution to this issue is to install Critter Guard, a flexible fence-like barrier, around a solar array. Continue reading to learn more about critter guard including how to determine if you need it, what types there are, pros and cons, how to install critter guard, and some further helpful tips.
Does every rooftop Solar PV system need Critter Guard?
The short answer is: not necessarily. Plenty of rooftop Solar PV systems around the country do not have a critter guard and never experience damage from squirrels or other rodents. It is important to consider environmental and geographical factors when assessing the need for critter guard. Here’s a few questions to ask before installing it on a rooftop system in the U.S.:
- Are there squirrels in the area?
- Is the system located in a wooded area?
- Are there any trees adjacent to the roof?
If the answer is yes to all of these questions, consider installing critter guard. Alternatively, if there are ANY trees near the house, another option is to perform proper tree management around the house to remove adjacent tree branches. Doing so may deter squirrels from accessing the roof, but this strategy is not foolproof since branches will eventually grow back. Also, keep in mind that squirrel nests are more prevalent with rail systems than railless systems.

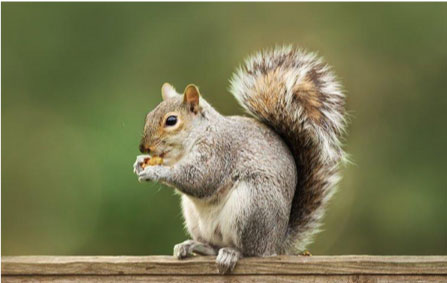
“Please don’t ruin my luxury rooftop villa!”
TYPES OF CRITTER GUARD, PROS & CONS
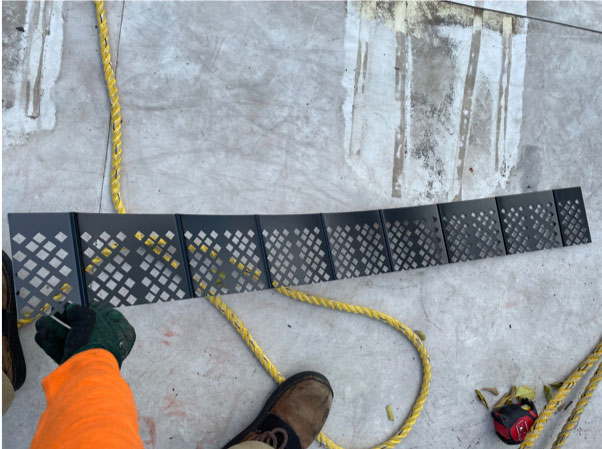
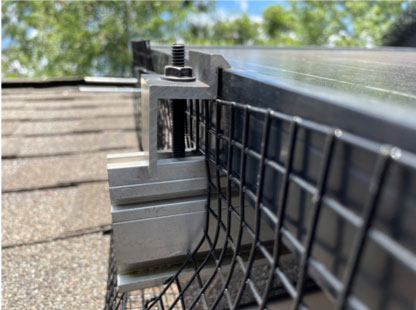
There are two main types of Critter Guard in the current market. One type is a wire mesh with unique clips that attach to the module frame such as the Spiffy Solar Wire Mesh Netting. The other is an aluminum barrier with adhesive tape that sticks to the module frame. Both options have their advantages and disadvantages.
Wire Mesh

Pros:
- Cost effective
- Effective if installed properly
- Flexible, can be shaped to a bent position
Cons:
- Can be tedious and can take a long time to install
- Needs to be bent for proper installation
Adhesive Barrier

Pros:
- Quick and easy install
- No extra parts
- Helpful on a maxed out roof
- More aesthetic look
Cons:
- Twice the cost of Wire Mesh guard
- Has temperature limits on adhesive during installation (70°–100°F)
- Must wipe off module frame before applying adhesive
- Cannot be reused if system is serviced in the future

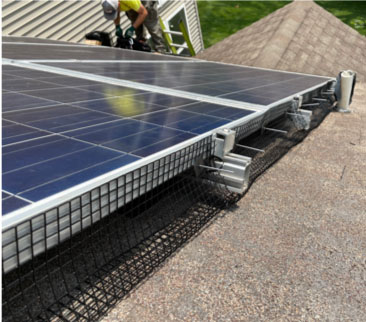
INSTALLING CRITTER GUARD
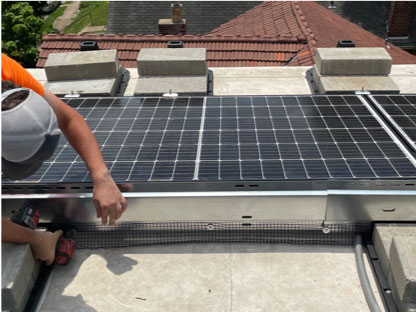
Installing the adhesive type of critter guard is straightforward and needs little direction. However, installing the wire mesh critter guard requires more attention to detail and some direction for getting started. Here are some tips for installing wire mesh critter guard:
- Bend the wire mesh to a suitable angle so it fits in and under the array. Don’t let the wire mesh go above the module frame, as it could lead to a buildup of debris.
- Make sure to overlap at least 6 inches when connecting sections of the mesh
- Pay attention to inside and outside corners of the array. Cut a small section at the bottom of the mesh to create a more refined corner.
- Some end clamps can be utilized to add more security to the wire mesh. Tighten the end clamp above the wire mesh to add more structural integrity (do not position the wire mesh between the module frame and the end clamp).
- When installing critter guard on a ballasted array, use self tapping screws to secure the wire mesh to the wind screens.
- It is a good idea to install the bottom section of the critter guard LAST, in case you drop something under the array. It will be difficult to retrieve a dropped tool if it is caught behind the critter guard.
- When installing on a side with exposed rails, cut the smallest hole in the critter guard while still allowing the rail to go through.
- Use zip ties to secure holes between sections of the critter guard or under the rails.
- Take your time installing to do a quality job.
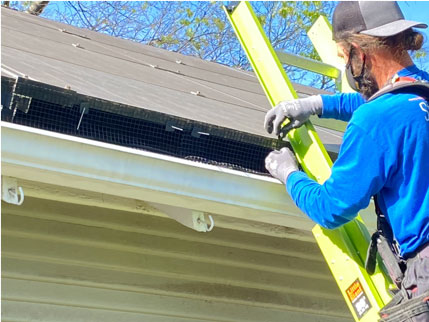
- If there is a lack of workspace on a side of the array, using a ladder to install may be the best option
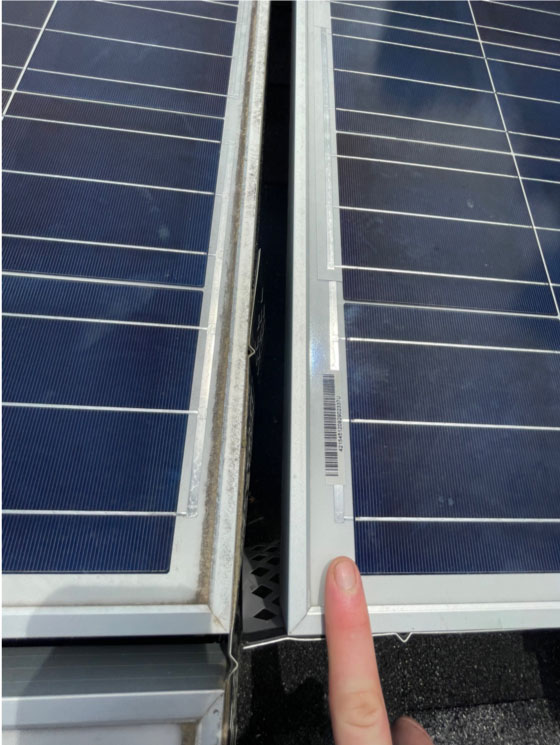
Inter-row Spacing & Bad Practices
Be sure to consider inter-row spacing when installing the solar array. Squirrels can enter the array with only 1.5” of clearance. Some installers wrap the entire array in critter guard but leave small openings. This allows the squirrels to come back under the array, make a nest, and cause more damage to the wires. This defeats the entire purpose of the critter guard! Leave NO possibility for the squirrels to enter. If the squirrels find an opening, they will come back.
REPAIRING CRITTER DAMAGE

Replace any majorly damaged or compromised components.

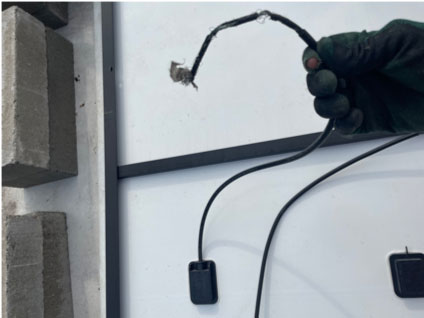
If the conductor is frayed, cut off the affected cable starting where the chewage begins, then make an MC4 jumper cable to reconnect the cables.

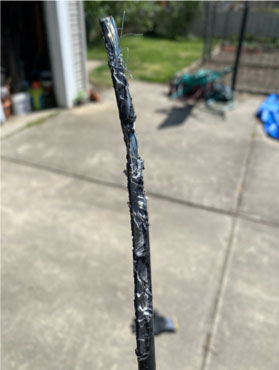
If the insulation is chewed but the conductor is not frayed, tightly wrap electrical tape around the affected area.
TIPS & LESSONS LEARNED

Debris can get Caught in the Critter Guard
Debris was caught on this critter guard because it was installed partially exposed above the module frame. This will lead to a collection of debris and a messy look for the customer.
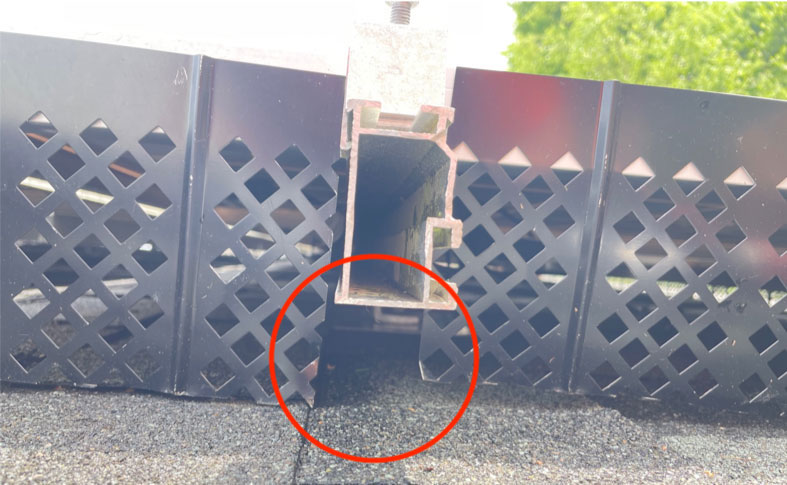
Array Clips can Become Unhooked
The clips on the bottom row on this array have become unhooked. This could have been caused by poor installation and/or weather conditions. A section of critter guard like this will need another site visit to be re-installed or else it will remain ineffective. Critter guard should have also been installed in the array break here since there is a gap larger than 1.5”.


Check Up on Your Critter Guard Installations
It is best practice to make an annual check-up visit to critter guard systems to ensure it is still working effectively throughout weather conditions during the year. It may be possible to team up with a mammal control company to offer annual check up visits at a critter guard system to maintain or offer a warranty.

DON’T LET RODENTS RUIN YOUR PV SYSTEM!
If you install solar in an area where rodents have easy access to rooftops, and no steps are taken to prevent squirrels from nesting under a solar array, they will ravage the system and incur unintended costs to maintain the system. Squirrel damage is costly to fix, so it is better to prepare for critters proactively than to deal with them reactively.